
How to Make Milk Kefir at Home (Just 2 Ingredients, 5 Minutes of Work)
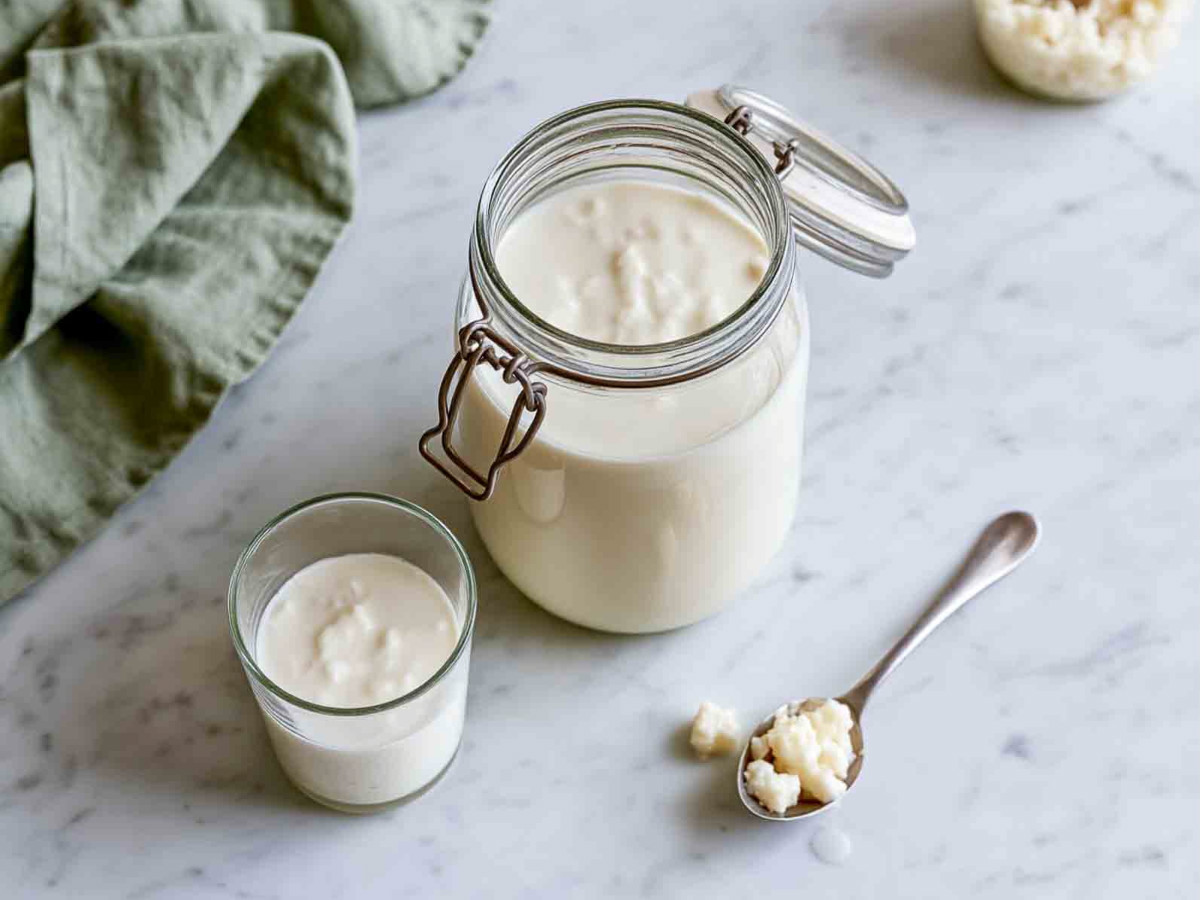
Homemade milk kefir is tangy, lightly fizzy, and pours like a thin drinkable yogurt, and learning how to make milk kefir takes about 5 minutes of actual work. You need milk, a spoonful of live milk kefir grains, and a jar. There is no heating, no starter packet, and no special equipment.
Disclosure: This post may contain affiliate links. This means I get a small commission if you decide to make a purchase through my links at no extra cost to you.
The grains sit in the milk on the counter while they ferment it, then you strain them out and drop them straight into fresh milk for the next batch. Two things decide whether it works: using active grains in regular milk rather than ultra-pasteurized, and straining when the kefir has thickened and smells tangy instead of waiting for it to separate. Look after the grains and one set keeps going batch after batch.
Jump to:
Why You'll Love This Homemade Milk Kefir
- This homemade milk kefir recipe takes two ingredients. Milk and kefir grains are the whole shopping list, and a quart jar does the rest.
- You buy the grains once. One set turns regular milk into kefir batch after batch, so the only ongoing cost is milk.
- It fits around dinner. I start a jar after dinner and strain it the next evening, so it never takes time out of the day.
- Kids take it more than one way. My son drinks it straight from the glass, and my daughter likes it blended into a berry smoothie.

What Is Kefir?
Milk kefir is a fermented drink from the Caucasus mountain region. It tastes like a thin, tangy yogurt with a faint fizz, and the fizz comes from the yeasts living in the grains. Yogurt is cultured with a few bacterial strains at a warm, controlled temperature. Milk kefir ferments at room temperature with a much wider mix of bacteria and yeasts, which is why it needs no heating and has a more complex tang than yogurt. Homemade kefir also tastes fresher than the bottled kind, and once you know how to make kefir at home, you decide how tangy it gets.
What Are Milk Kefir Grains?
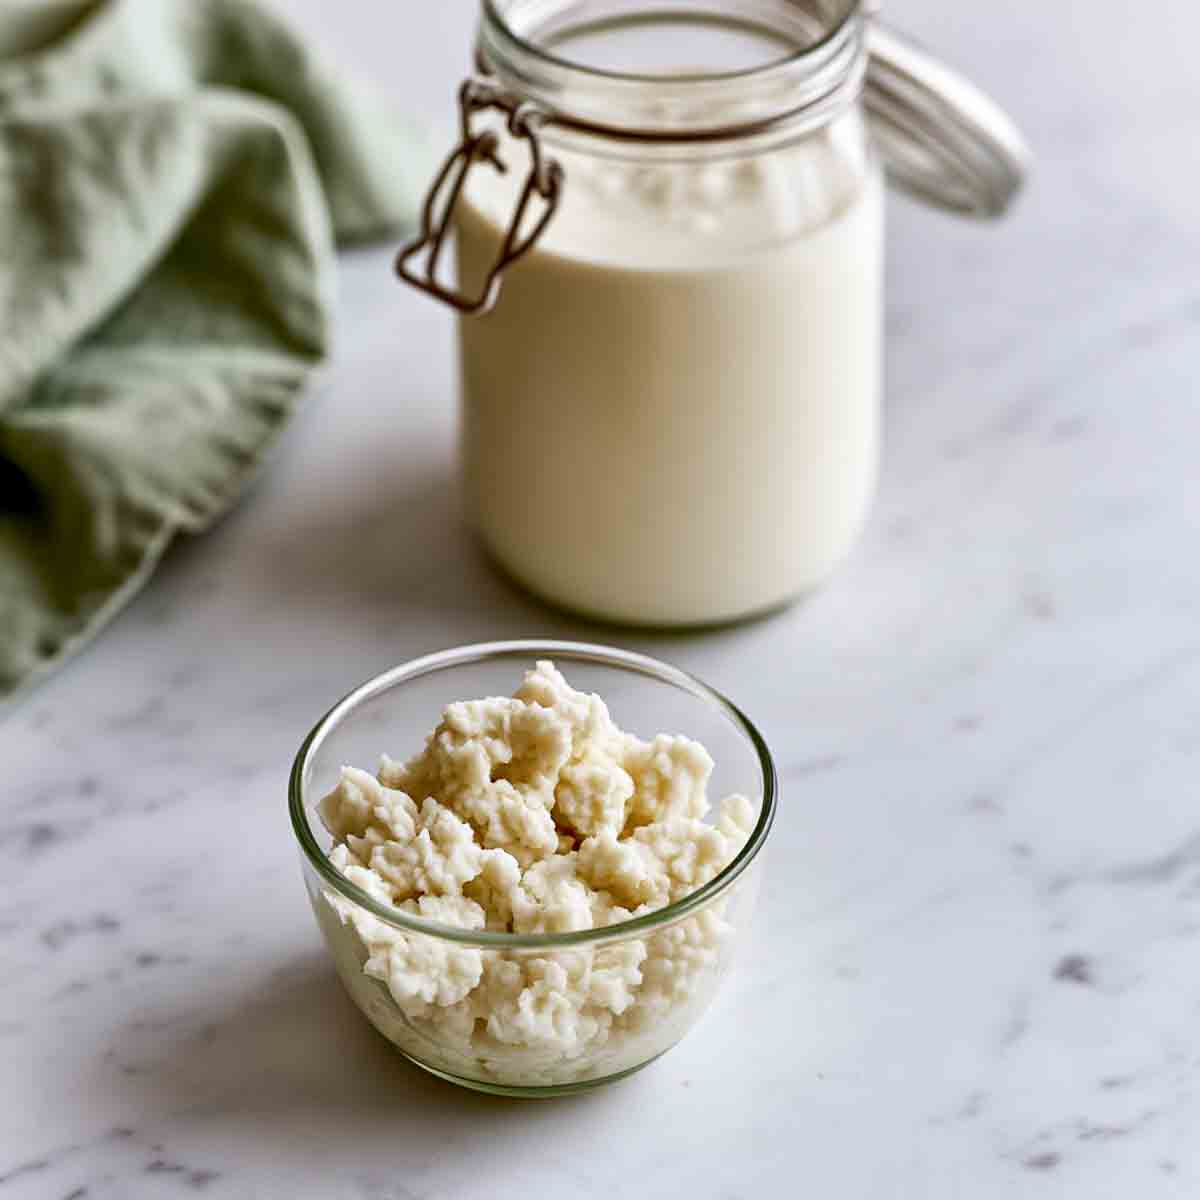
Milk kefir grains are not grains at all. They are soft, rubbery clusters of bacteria and yeast that look like small cauliflower florets, and they are naturally gluten-free. Drop them into milk and they ferment it; strain them out and they are ready for the next batch. Active grains slowly multiply, so you only ever buy them once, and learning how to care for milk kefir grains mostly means keeping them in fresh milk. For a first bake with homemade kefir, try this kefir apple loaf cake, which needs only ¾ cup and no mixer.
Grains are the only thing you need to buy to learn how to make kefir at home. Live milk kefir grains come from culture suppliers, local fermenting groups, or a friend who already makes kefir. Choose fresh, hydrated grains over dehydrated ones when you can. I bought mine online, and the first couple of batches ran slow while the grains adjusted, closer to 30 hours or more. By the third batch, they were thickening the milk in about a day, so do not judge new grains by batch one.
Ingredients
- Milk. I almost always make kefir with whole milk because it gives the creamiest, thickest result, and that is the texture my family prefers. I have also made it with 2%, which works well but comes out a little thinner. Skip ultra-pasteurized and lactose-free milk, since both ferment poorly, and wait until your grains are well established before trying goat or non-dairy milk.
- Milk kefir grains. The standard ratio is 1 tablespoon of active grains to 2 cups of milk. More grains or a warmer kitchen ferments faster; fewer grains or a cooler kitchen ferments slower, and the ratio is forgiving. When the grains multiply faster than I can use them, I put the extras in a jar of milk in the fridge to slow them down.
See the recipe card for the complete list of ingredients and quantities.
How to Make Milk Kefir at Home
Here is how to make kefir step by step. Making milk kefir takes judgment at only one point: the timing in step 2.
- Add the grains and milk. Put the kefir grains in a clean glass jar and pour the milk over them. Cold milk straight from the fridge is fine, and there is no need to stir.
- Cover and ferment. Cover the jar with a breathable cloth or paper towel secured with a rubber band, since an airtight lid traps the gas the yeasts give off. Leave it on the counter, out of direct sunlight, for 12-24 hours. I start mine after dinner so it is ready to strain the next evening.
- Strain out the grains. Set a fine mesh strainer over a clean jar and pour the kefir through, stirring gently so the thickened kefir passes and the grains stay behind. Stainless steel or plastic is fine for the strainer and spoon.
- Start the next batch and chill. Drop the grains straight into fresh milk to begin the next jar, then lid the finished kefir and refrigerate it.
How to Tell When Milk Kefir Is Ready to Strain
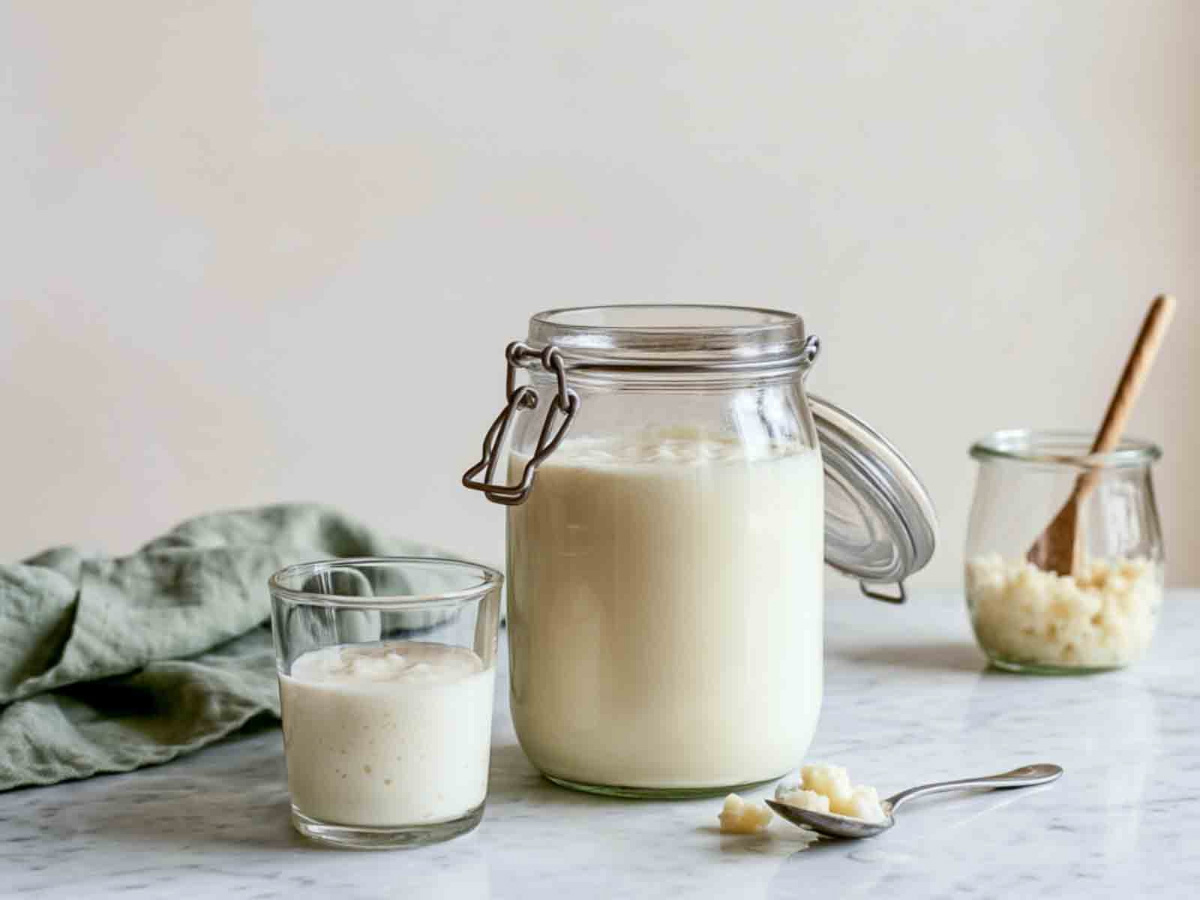
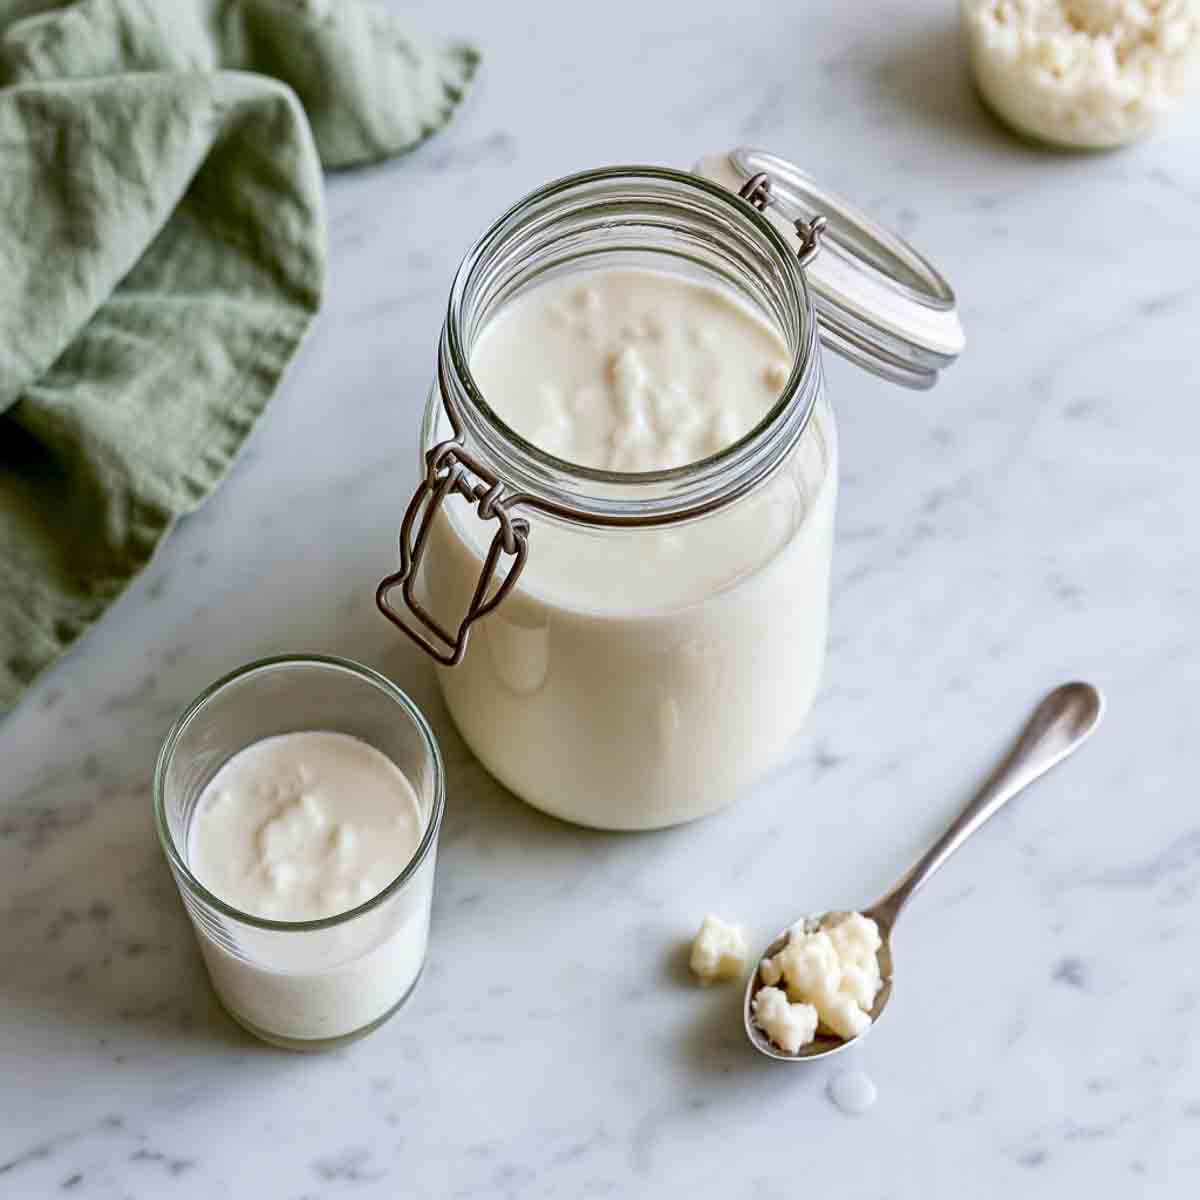
Ready kefir coats the back of a spoon and smells tangy and fresh, like plain yogurt with a faint yeasty note. Tilt the jar gently: if the milk has thickened and moves as one body instead of sloshing like fresh milk, it is done.
Timing is the one part of how to make milk kefir that takes a few batches to learn. In my kitchen, 24 hours is usually right for the balance of creaminess and tang. Warmer months can finish a batch in closer to 20 hours, and cooler weather can stretch it to nearly 30. Early on, I often left it too long, and once I forgot a jar for almost two days. It split into thick curds and yellowish whey, but it was not ruined. I stirred it back together, strained it as usual, and the grains carried on normally in the next batch. It just tasted more sour.
How to Make Kefir Thicker or Less Sour
The simplest way to make kefir thicker is to use whole milk and let it go the full 24 hours. To make it less sour, strain it earlier, around 12-18 hours, or use a little more milk for the same amount of grains.
How to Use Milk Kefir
Homemade milk kefir works anywhere buttermilk or thin yogurt does, which is the best reason to learn how to make milk kefir in the first place. Most of mine goes into smoothies and overnight oats during busy weeks, and the rest goes into baking when I want extra tang. If you are wondering how to use kefir in recipes, start with anything that calls for buttermilk.
- Smoothies: blend it into this papaya smoothie in place of yogurt, with a handful of berries if you like.
- Lassi: kefir plays the same tangy role as the yogurt in a classic mango lassi.
- Popsicles: strawberry kefir popsicles turn 2 cups of kefir into a week of freezer treats with 10 minutes of work.
- Breakfast: these 20 kefir smoothies and overnight oats cover both quick and make-ahead mornings. Kefir bread with fresh herbs is one of the better ways to spend a cup of it, since the acidity tenderizes the crumb and the loaf is done in under three hours.
- Chia pudding: this high-protein kefir chia pudding comes together in 5 minutes the night before.
- Banana bread: high-protein kefir banana bread is the first thing I bake when the kefir piles up.
- Loaf cake: this kefir apple loaf cake uses only ¾ cup and needs no mixer.
- Biscuits: kefir swaps straight in for the buttermilk in these buttermilk drop biscuits.
- Fried chicken: use it in place of buttermilk in the marinade for buttermilk fried chicken.
- Dressings and dips: it does the same job as the yogurt in these Greek yogurt dressings and dips, with a pourable texture.
- Cold soup: blend it into a cucumber kefir soup for a no-cook dinner.
- More fermenting: sourdough is the natural next project, so start with these sourdough myths debunked.
For more ideas, browse every kefir recipe on the site.
Recipe FAQs
You can, but only for a few batches. Stir a few tablespoons of live store-bought kefir into fresh milk and let it ferment the same way. The culture weakens each round and gives out after a few, so grains are the better choice if you plan to make kefir regularly.
For a break of up to a week, put the grains in a jar with fresh milk, lid it, and refrigerate. The cold slows fermentation to a crawl, and a batch or two at room temperature wakes them back up. For longer breaks, the grains can be frozen, though they usually need several batches to recover. Never rinse milk kefir grains in tap water, since chlorine damages the culture.
Homemade kefir keeps for about 2 weeks in a lidded jar in the fridge. It keeps souring slowly, so it tastes mildest in the first few days. If you see mold or it smells off rather than tangy, throw it out.
Flavor this milk kefir recipe after straining, never with the grains still in the jar. Berries are what I use most, blended in for smoothies or stirred through and frozen for popsicles. Honey, maple syrup, vanilla, or cinnamon also work. Letting flavored kefir sit on the counter for a few hours before chilling, a second ferment, makes it milder and a little fizzier.
It fermented a little too long, or your kitchen ran warm. Separation is a doneness signal, not a failure. Stir or shake it back together and strain as usual. To prevent it next time, shorten the ferment by a few hours rather than changing the amount of grains.

Once you know how to make milk kefir, the jar on the counter becomes part of the evening routine, and the grains keep going for as long as you keep feeding them fresh milk. If you tried this Homemade Milk Kefir Recipe or any other recipe on my website, please leave a 🌟 star rating and let me know how it went in the 📝 comments below.
Equipment
- Glass jar (1 quart)
- Fine mesh strainer
- Cloth cover or paper towel with rubber band
Ingredients
- 2 cups whole milk
- 1 tablespoon kefir grains (active)
Instructions
Ferment
- Put the kefir grains in a clean glass jar and pour the milk over them. Do not stir.
- Cover the jar with a breathable cloth or paper towel and secure it with a rubber band.
- Leave the jar on the counter, out of direct sunlight, for 12-24 hours, until the milk has thickened slightly and smells tangy.
Strain
- Set a fine mesh strainer over a clean jar and pour the kefir through, stirring gently so the kefir passes and the grains stay behind.
Start the next batch
- Put the grains straight into fresh milk to start the next batch. 6. Lid the finished kefir and refrigerate it for up to 2 weeks.
Notes
- Whole milk gives the creamiest kefir; 2% works but is thinner. Avoid ultra-pasteurized and lactose-free milk.
- Warm kitchens can finish in 18-20 hours; cool kitchens can take up to 30 hours. New grains may take 30 hours or more for the first couple of batches.
- Stainless steel and plastic strainers and spoons are fine. Avoid reactive metals such as aluminum or copper.
- Separation into curds and whey means the kefir fermented longer. Stir it back together and strain as usual.
- The ratio is 1 tablespoon of grains per 2 cups of milk and scales in either direction.
- Extra grains can sit in a jar of fresh milk in the fridge to slow down. Use them within a week.
- Never rinse grains in tap water; chlorine damages the culture.