
How to Make a Sourdough Starter From Scratch: A 7 Day Guide for Beginners
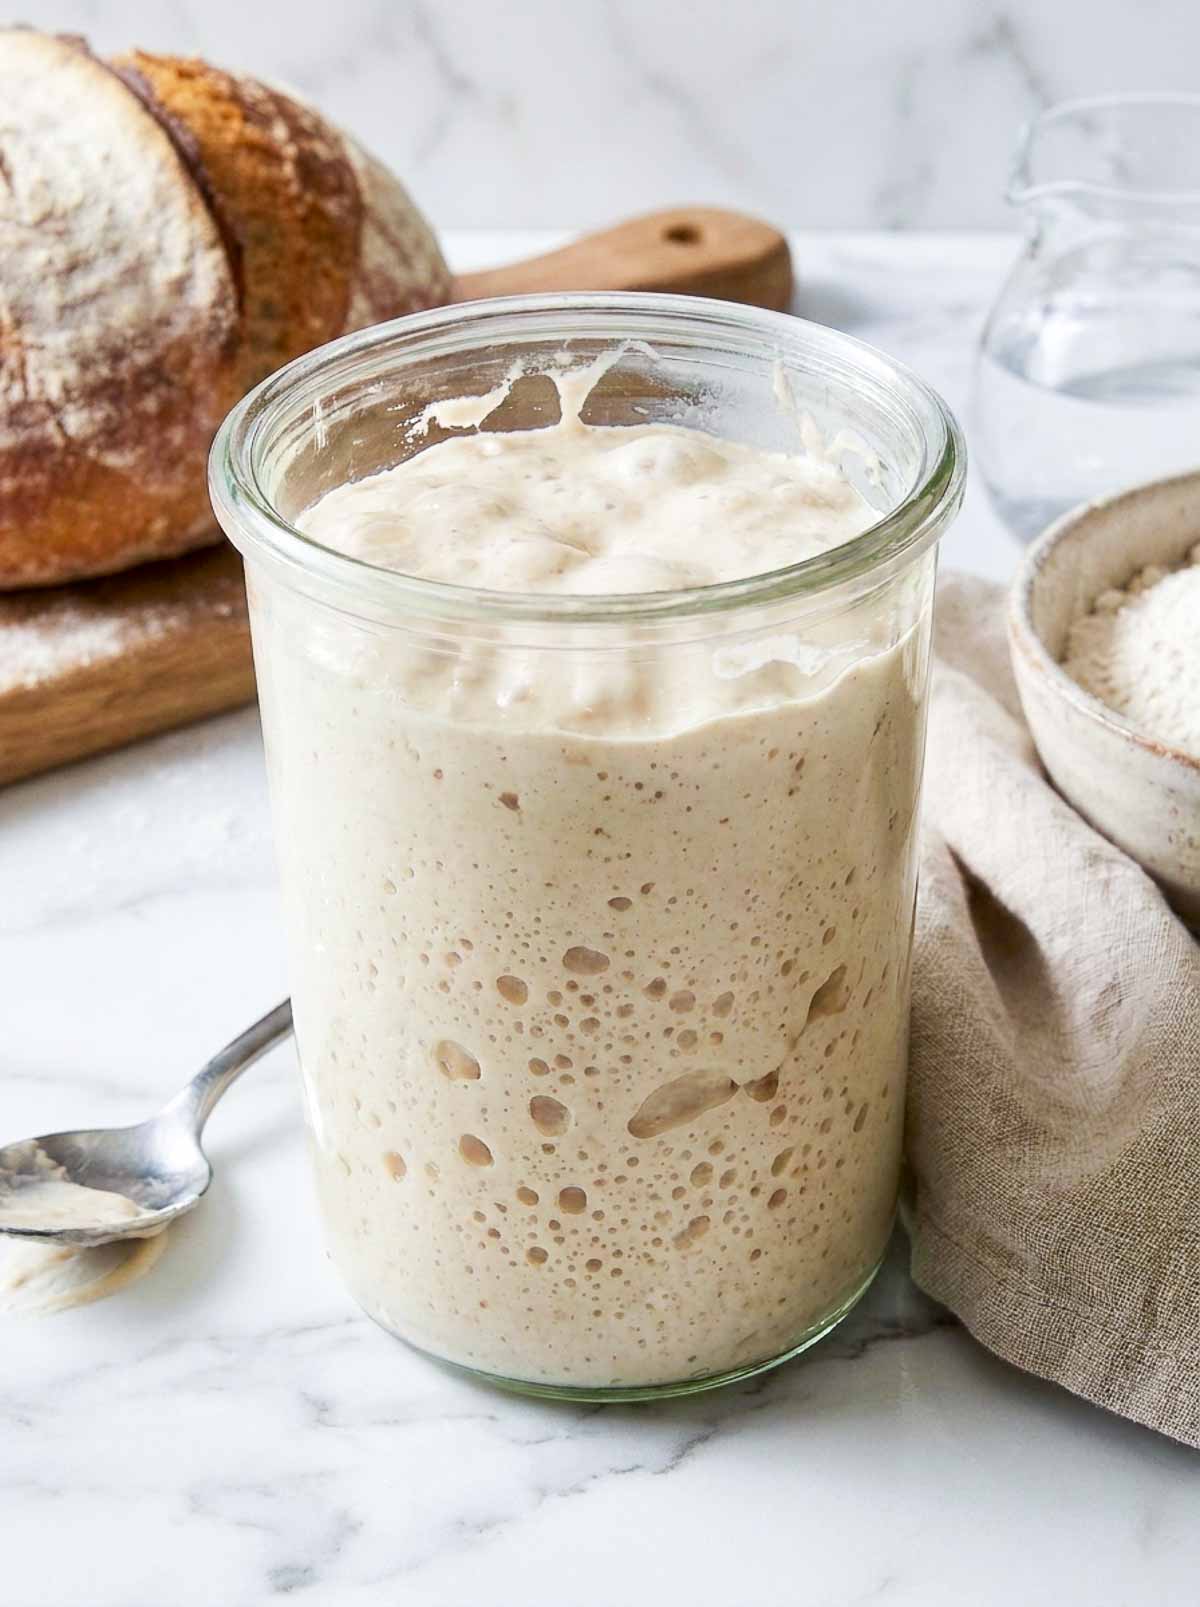
A sourdough starter is a living mix of flour and water that captures wild yeast from your kitchen and uses it to raise bread, with no commercial yeast at all. Making one from scratch takes two ingredients and about seven days.
Disclosure: This post may contain affiliate links. This means I get a small commission if you decide to make a purchase through my links at no extra cost to you.
You start with 100 grams of bread flour and 100 grams of filtered water in a clean glass jar. From day two onward, you throw away part of the mixture and feed what remains with fresh flour and water, once a day at first, then twice a day from day four. That daily rhythm is the whole method. Discarding sounds wasteful, but it is not; it keeps the ratio of fresh food to established culture high enough for the yeast to continue multiplying.
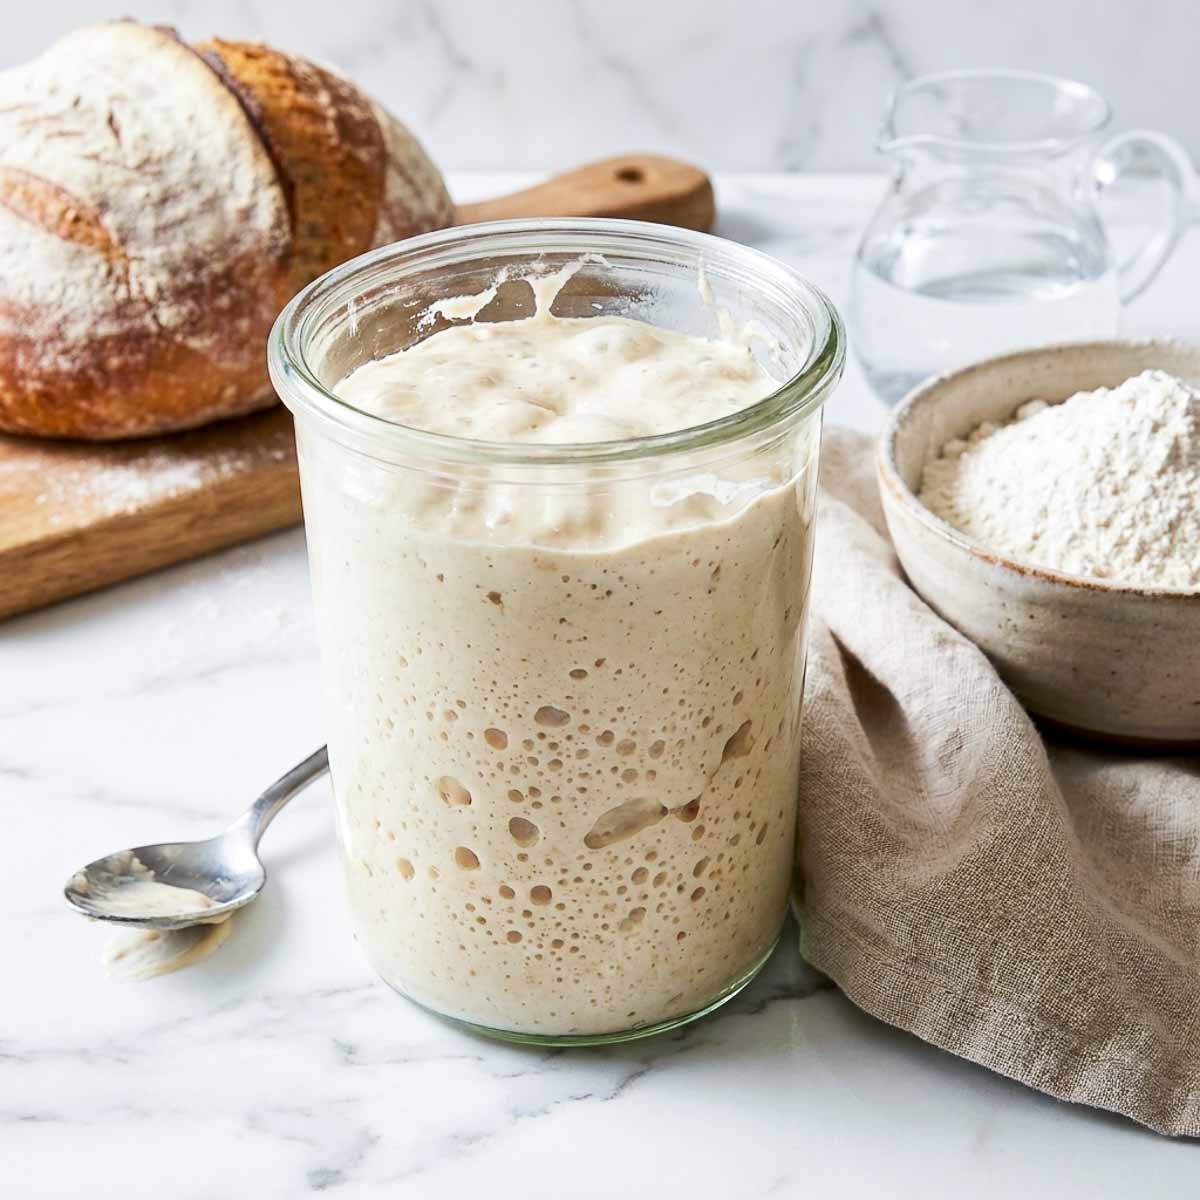
By day three, you will see bubbles, and by day five, the starter rises after each feed. By day seven, it should double within six to eight hours of feeding, which means it is strong enough to raise a loaf. Some starters take ten days, and a slow one is usually a cold kitchen rather than a failure.
The two things that matter most are bread flour, whose higher protein gives the culture more to work with than all-purpose, and a warm spot around 75°F. Everything else is patience. You will have discard from about day three, well before the starter is strong enough to bake bread with. That early discard is perfect for long-fermented granola, where the starter is binding and flavoring rather than lifting anything.
Jump to:

Why This Method Works
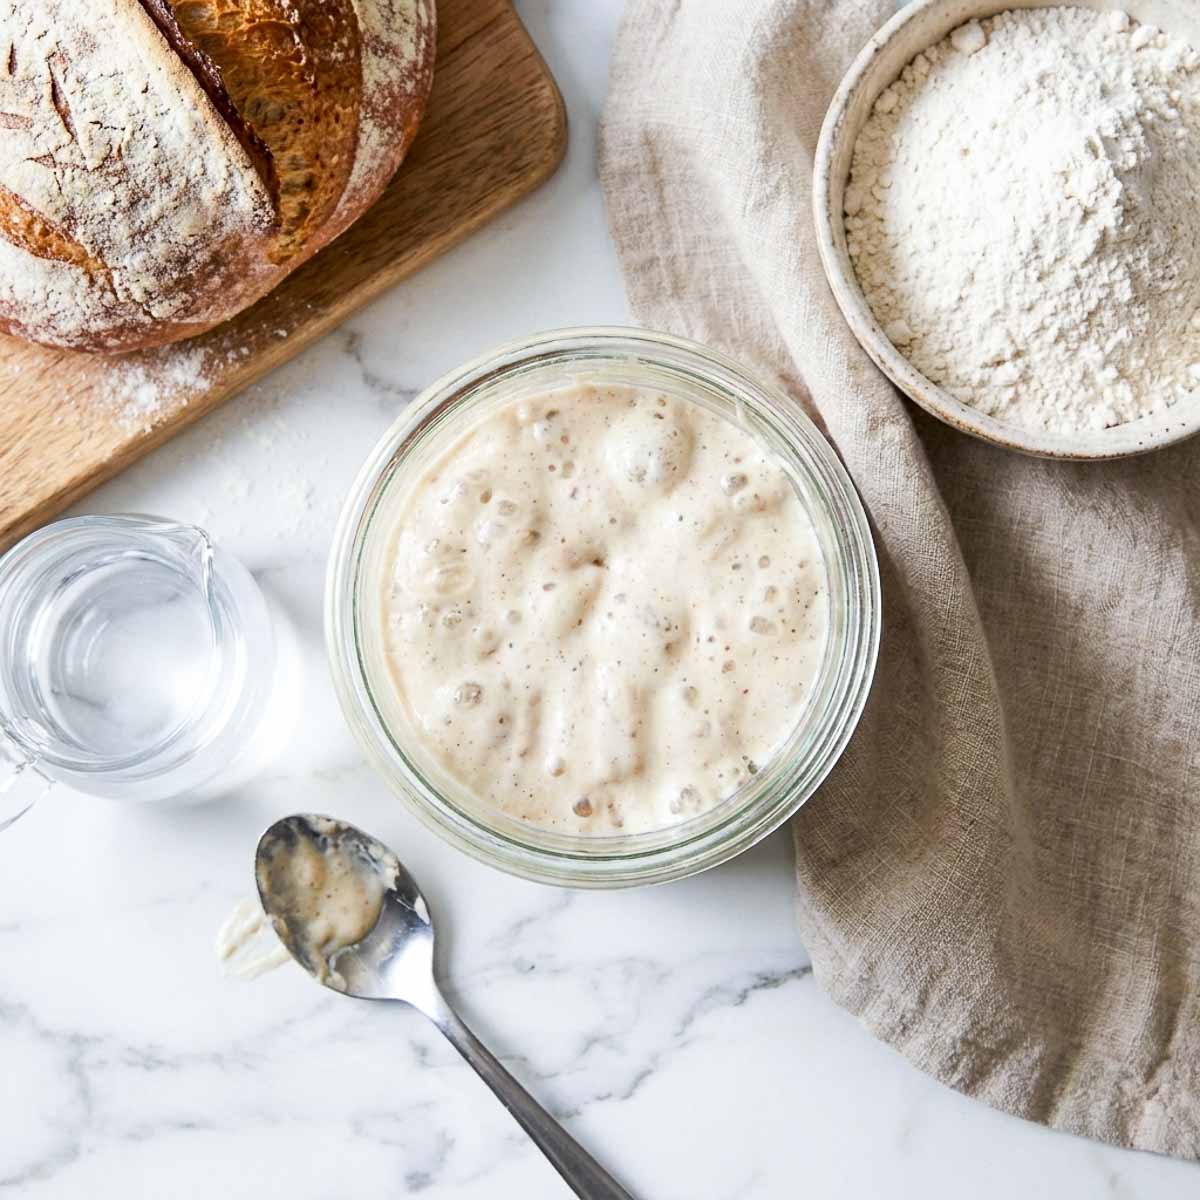
- Wild yeast is already there. It lives on the flour and in the air of your kitchen. You are not adding yeast; you are giving what already exists something to eat and somewhere warm to sit. Most of what makes this sound complicated is folklore, and a fair amount of it is covered in these sourdough myths worth ignoring.
- Two ingredients, no equipment you need to buy. Flour, water, a jar, and a rubber band.
- The discard is the engine, not the waste. Removing 100 grams before each feed keeps the culture young and hungry, which is what makes it strong enough to lift dough.
- Weights, not cups. Flour compacts in a measuring cup, and a starter built on inconsistent ratios behaves inconsistently.
- It fits around a family schedule. Days one to three need thirty seconds of attention. The twice-daily stretch from day four is two minutes, morning and evening.
Ingredients and Equipment
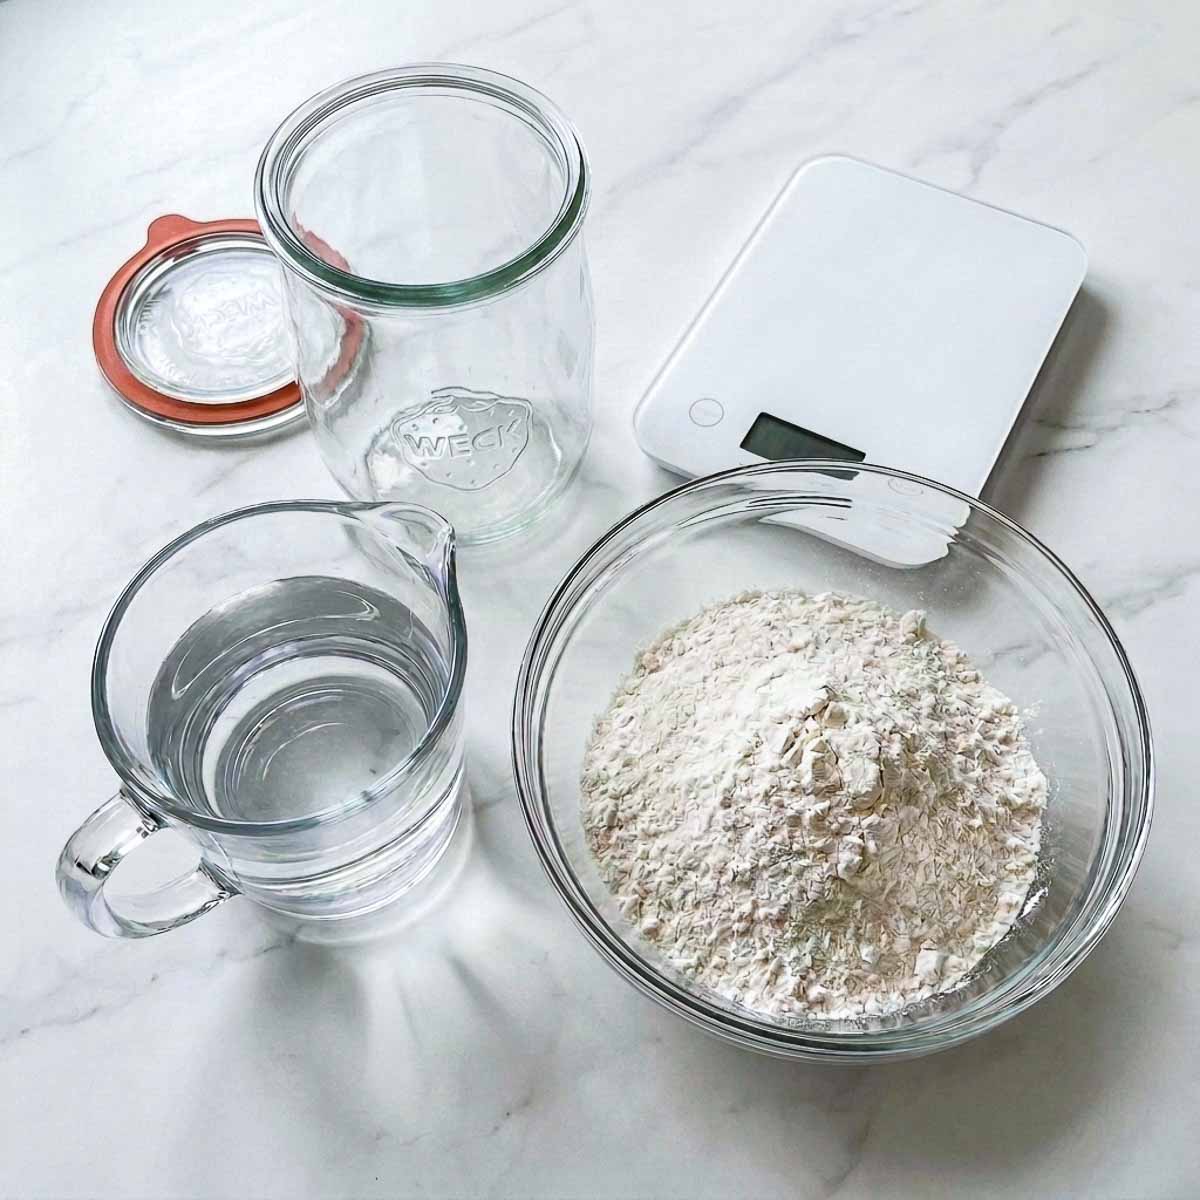
Bread flour. Higher protein than all-purpose, which gives the yeast and bacteria more gluten structure to hold onto as the starter rises. Use unbleached. Bleached flour and self-raising flour both interfere with fermentation, and self-raising already contains leavening you do not want. A whole wheat starter is a real alternative and behaves a little differently.
Filtered water. Chlorinated tap water can slow a young culture down. Filtered or bottled is safest. If neither is available, boil tap water and let it cool completely first.
A clear, wide-mouth glass jar. Clear so you can see the bubbles through the side, which is how you read progress. Wide-mouth so you can stir and scrape without fighting the shape. Leave room for the starter to at least double.
A plain rubber band. Slide it around the jar at the level of the starter after each feed. It costs nothing, and it is the difference between guessing and knowing whether your starter rose. Beyond the scale and the jar, none of the usual bread baking tools are needed at this stage.
How to make a sourdough starter step by step
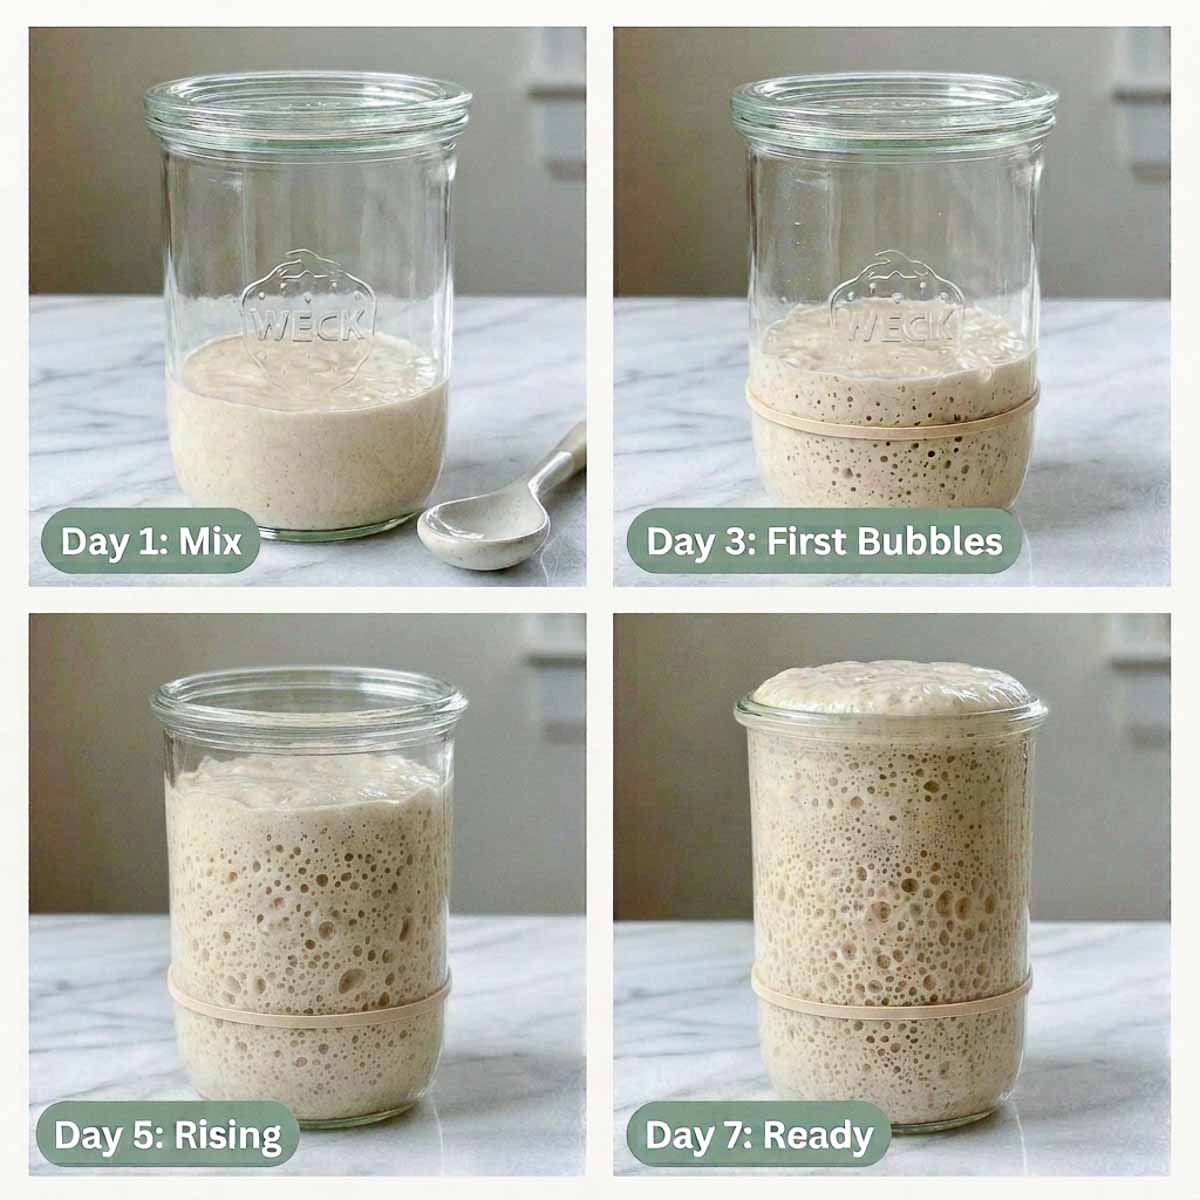
Day 1. Weigh 100 grams of bread flour and 100 grams of filtered water into the jar. Stir until no dry flour remains. Rest the lid on loosely; do not seal it, and leave the jar somewhere warm for 24 hours.
Day 2. Remove and throw away 100 grams. Feed with 50 grams of flour and 50 grams of water. Stir thoroughly. Back to the warm spot for 24 hours. Once your starter is established you will have discard every week, and the fastest way through a jar of it is these 3 ingredient sourdough discard crackers with no added flour.
Day 3. You should see the first bubbles across the surface. Remove 100 grams, feed with 50 grams of flour and 50 grams of water, and put the rubber band on at the new level so you can track the rise from here.
Day 4, morning. The starter should be rising a little now. Remove 100 grams, feed 50 grams of each. From today you feed twice a day, roughly 10 to 12 hours apart. Note the time so the next feed is easy to plan.
Day 4, evening. You may find a layer of dark liquid on top. That is hooch, and it means the culture is active and hungry rather than spoiled. Stir it back in or pour it off, then feed as usual.
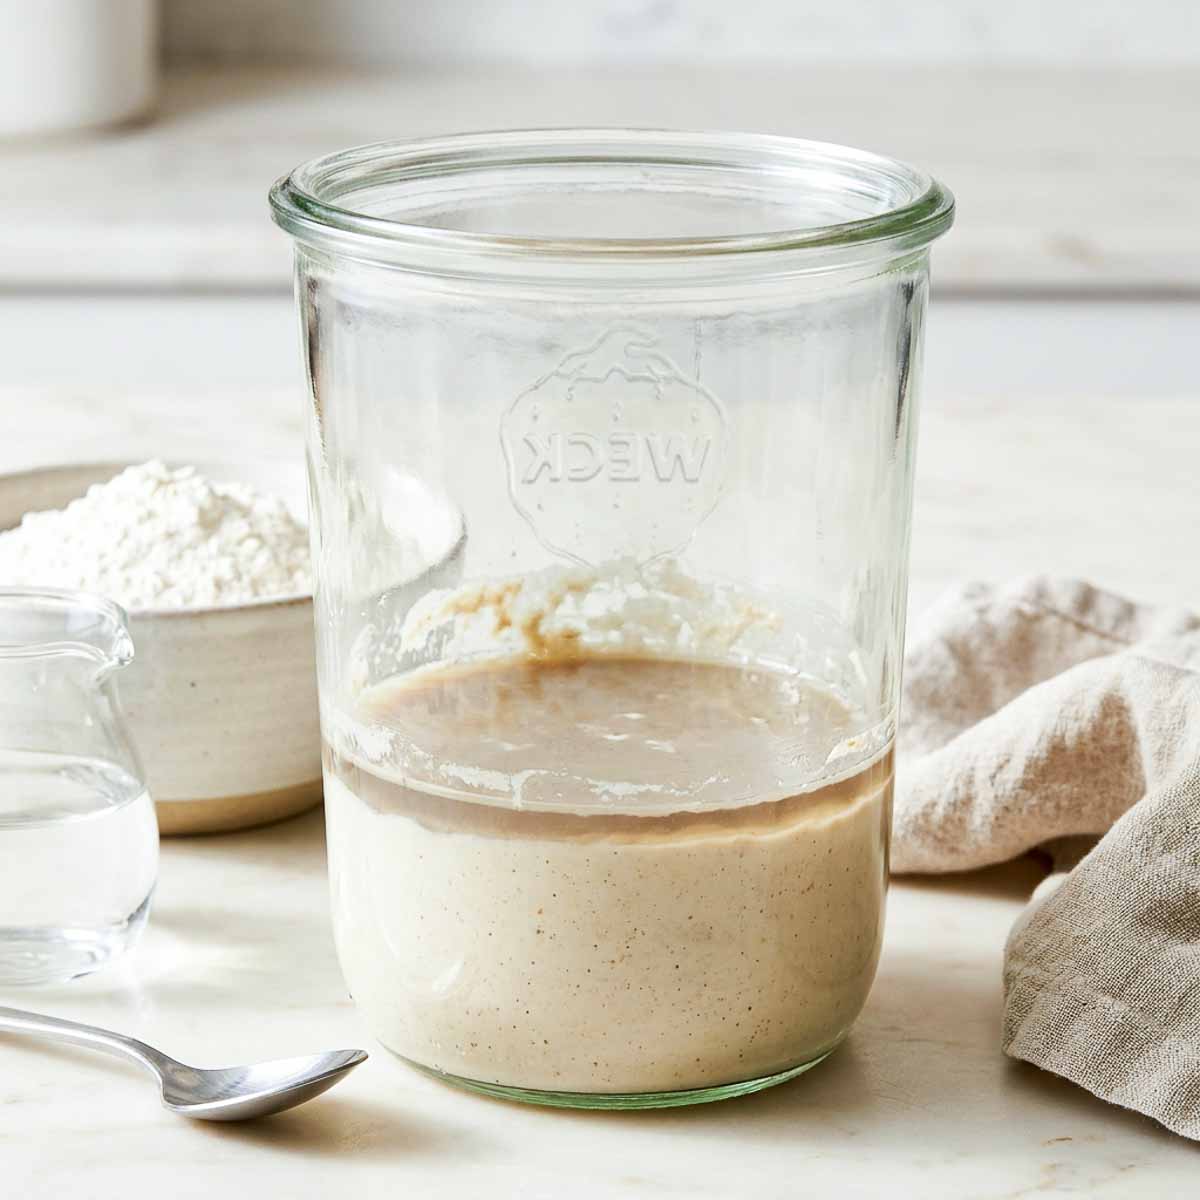
Days 5 and 6. Same rhythm, twice a day. The rise gets taller and faster with each feed, and the smell shifts from sharp and unpleasant to something closer to yogurt or beer.
Day 7. A ready starter is bubbly through the whole jar and doubles within six to eight hours of feeding. If yours is close but not there, keep going. Ten days is normal in a cool kitchen.
My kitchen temperature made a noticeable difference to how quickly my starter developed. On warmer days it became active much sooner, while cooler weather slowed everything down by a day or two. After making several starters, I stopped watching the calendar and started watching the bubbles and rise instead.
Pin This For Later
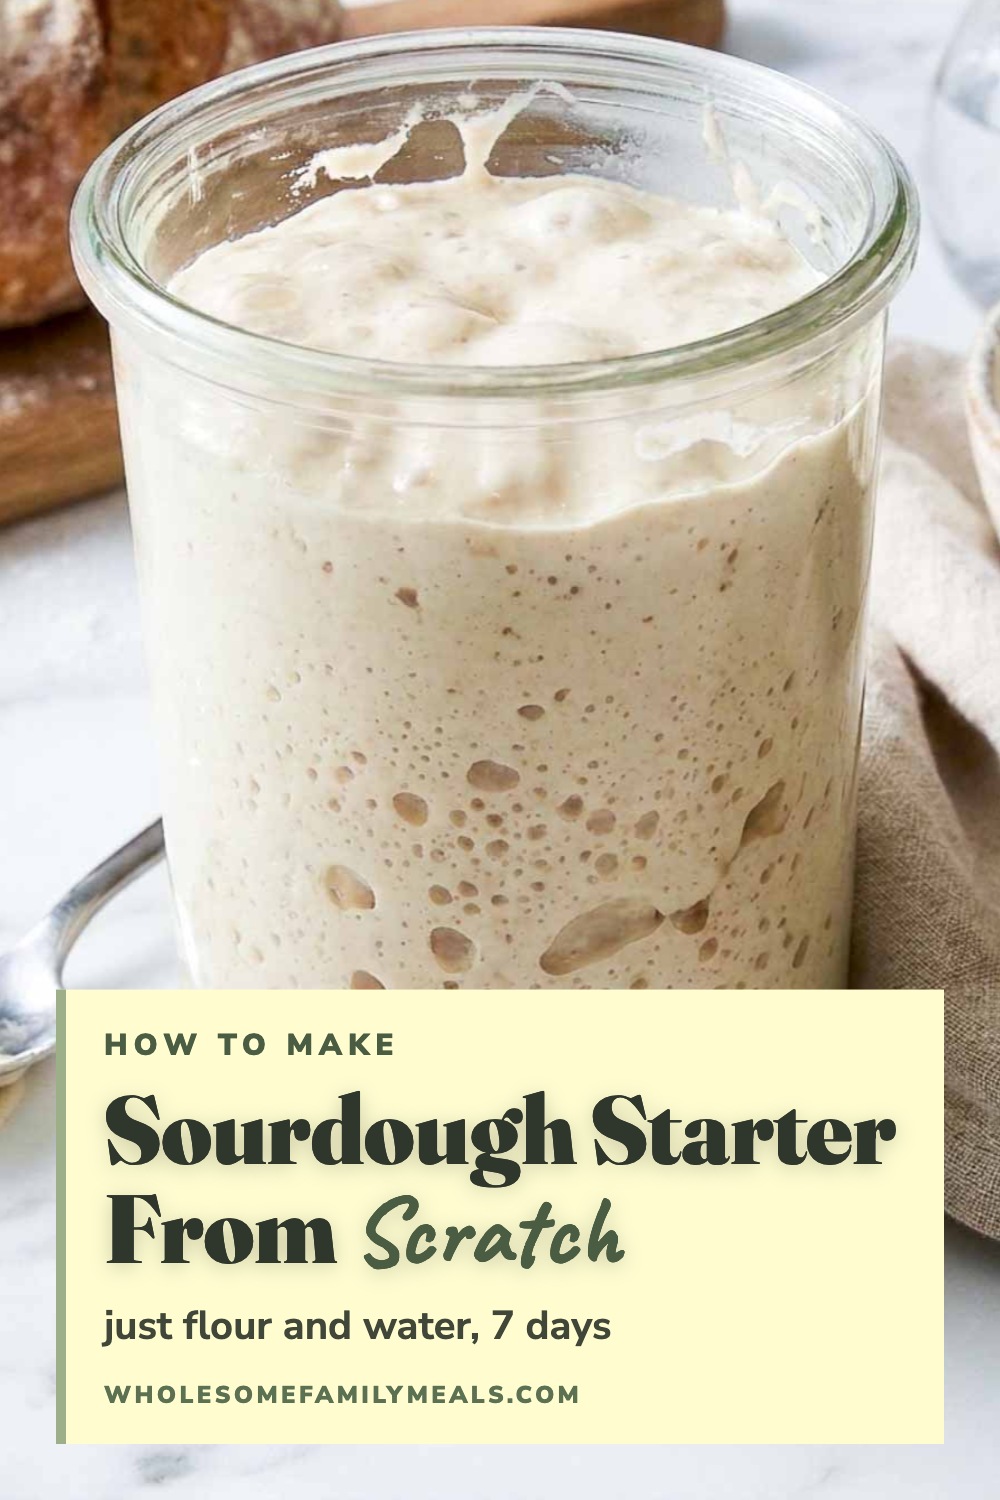
The 7-Day Sourdough Starter Timeline
The steps above tell you what to do. This is what to look for, so you can tell whether yours is on track without counting days.
Days 1 and 2, nothing happens. Thick, flat, and still. This stage worries people more than any other, and there is nothing to see yet because there is nothing happening yet.
Day 3, the first bubbles. Small bubbles scattered across the surface and a few visible against the glass. The rubber band goes on now.
Day 4, the first lift, and possibly hooch. A slight rise above the band, and often a layer of dark liquid by evening. Both are good signs.
Days 5 and 6, real movement. A visible rise after every feed, getting taller and faster each time. The smell shifts.
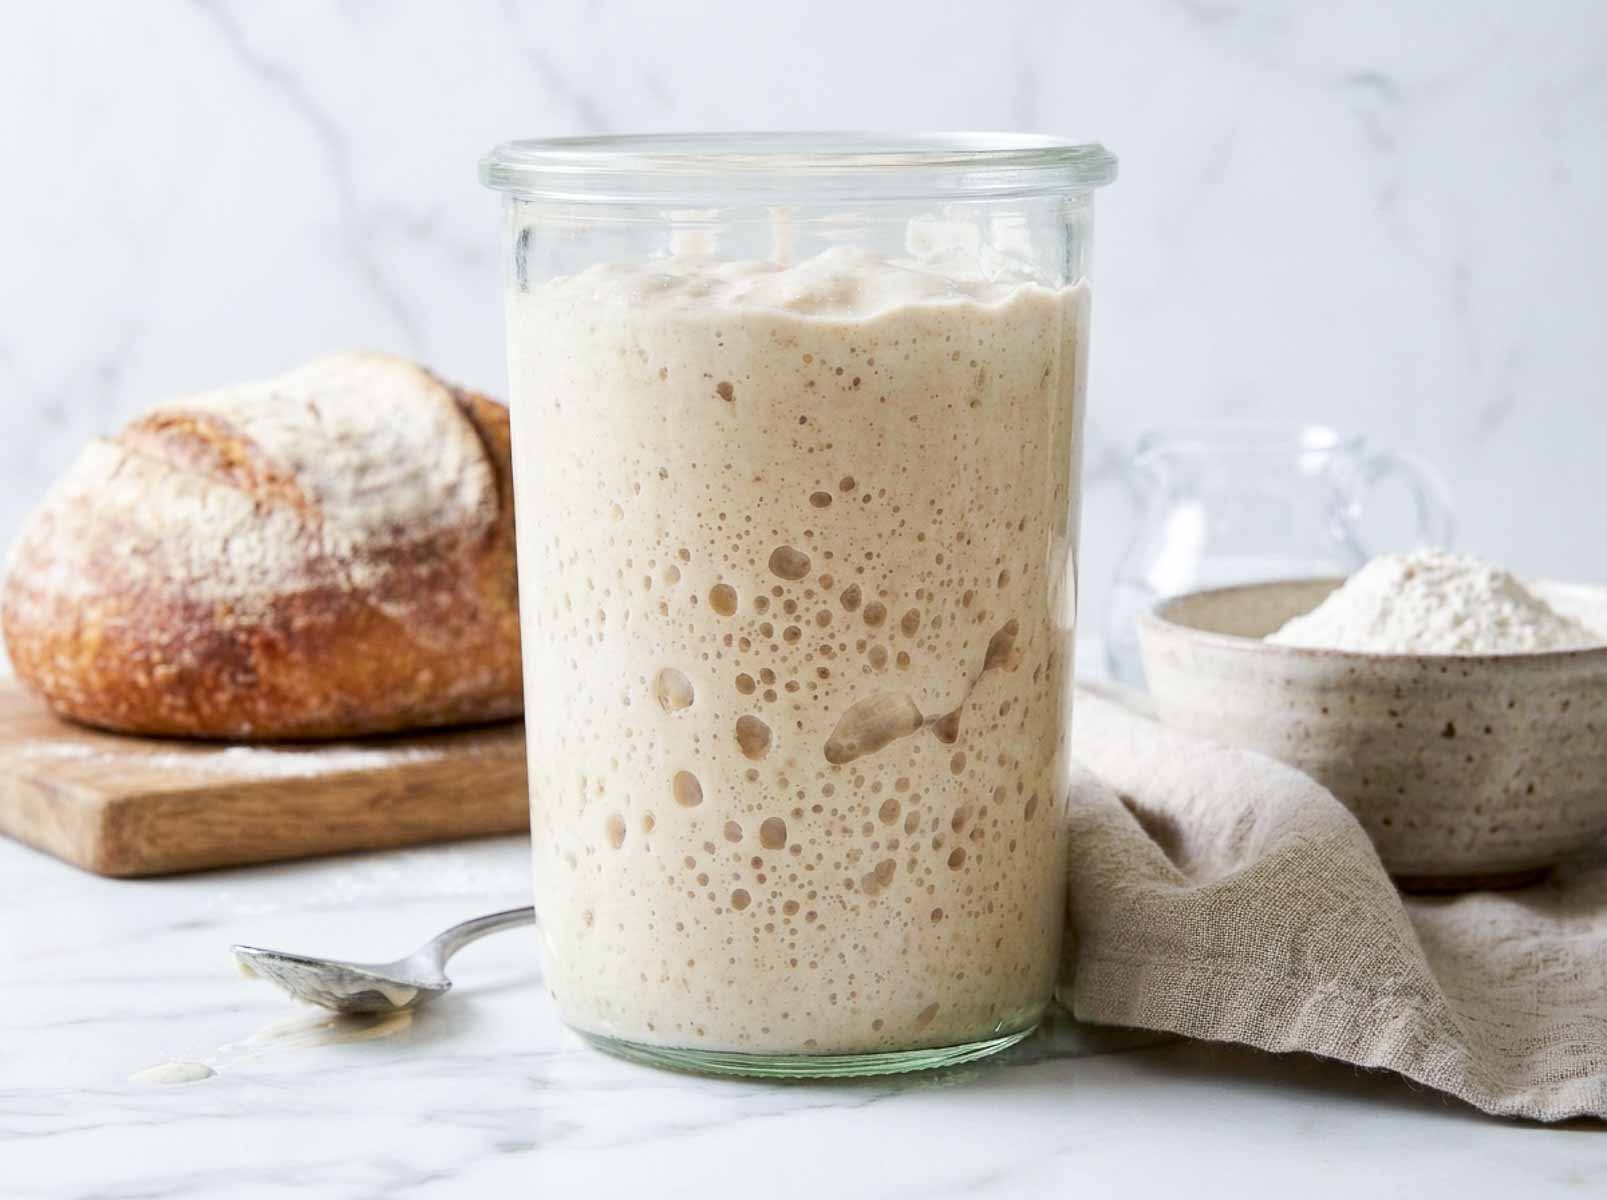
Day 7, doubling. Bubbles running through the whole jar and a reliable double within six to eight hours. That is a starter ready to bake with.
If your jar is a day or two behind this, it is almost always temperature rather than a problem, and a cool kitchen can push the whole sequence out to ten or fourteen days without anything being wrong.
By about day 3, my starter had a surprisingly strong smell. It wasn't the pleasant sourdough aroma I expected yet. It was sharper and a little funky. That stage can be completely normal, and after a few more feedings the smell became much cleaner, pleasantly tangy, and slightly yeasty.
How To Tell Your Starter Is Ready
Three signals, in order of reliability:
- It doubles on a schedule. With the rubber band marking the level after each feed, a ready starter reaches double within six to eight hours, consistently, not just once.
- It is bubbly all the way through. Not just foam on top. Look through the side of the jar for holes running through the whole body of the starter.
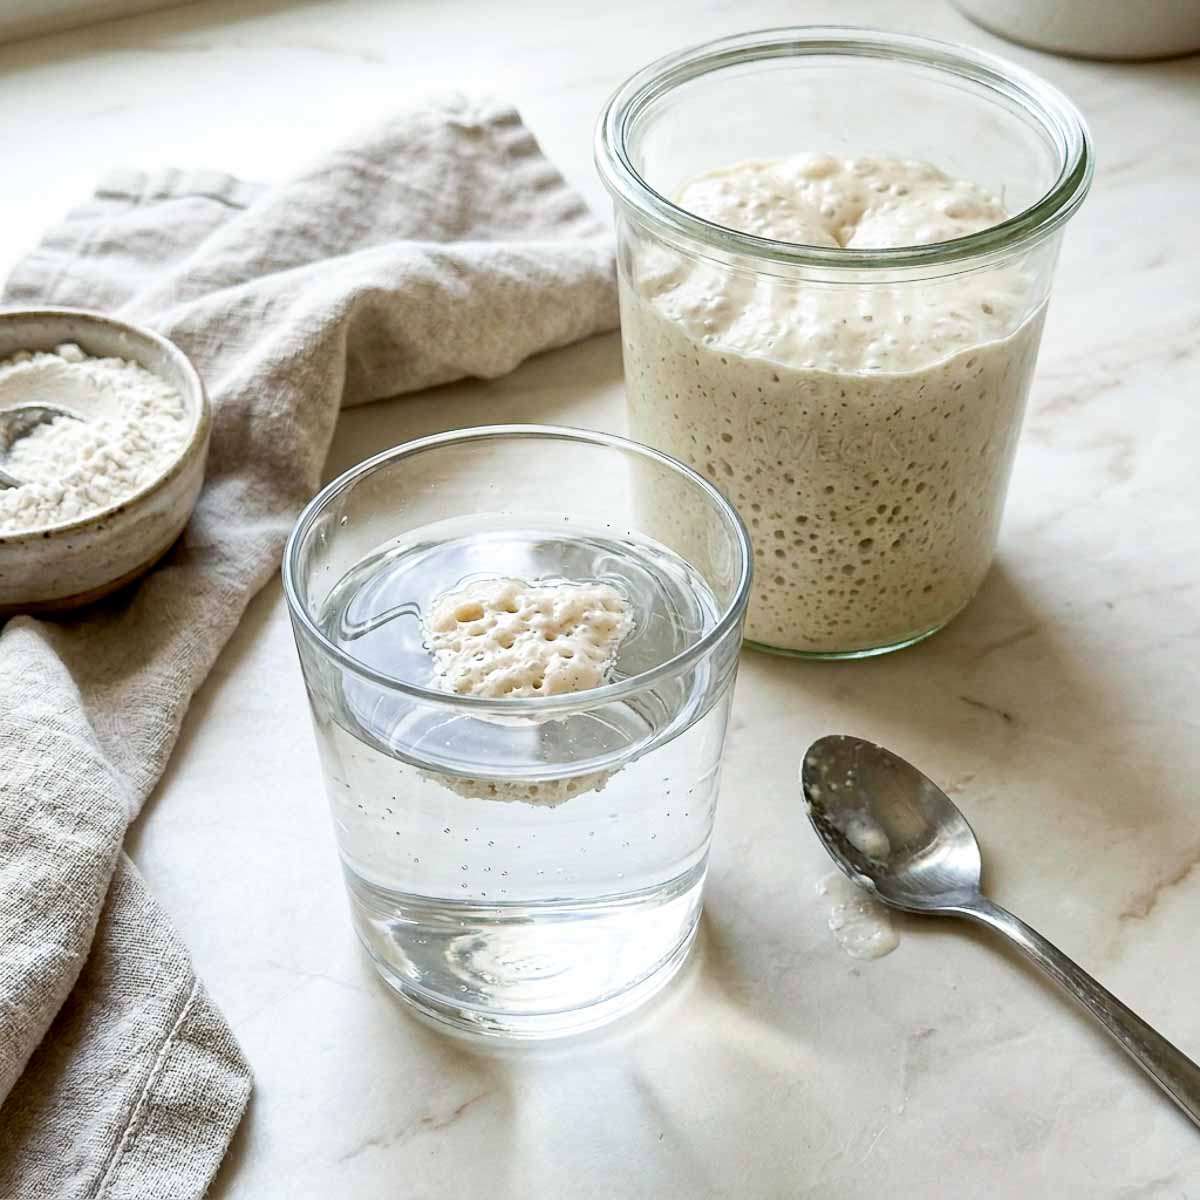
- It floats. Drop a teaspoon into a glass of water. If it floats, there is enough gas trapped in it to raise dough. The float test is a useful confirmation and a poor sole judge, since a starter can fail it and still bake well. Trust the doubling first.
The first thing I baked with my starter was a simple sourdough sandwich loaf rather than an artisan boule. It gave me a chance to learn how my starter behaved without worrying about perfect oven spring or an open crumb. The loaf turned out soft and flavorful and gave me the confidence to keep baking with the same starter. If you would rather not wait through an overnight cold proof for your first bake, this same-day sourdough bread is mixed in the morning and sliced the same evening.
Sourdough Starter FAQs
Because without it, the jar overflows and the culture starves. Each feed adds a fixed amount of food, so as the total volume grows, the food per unit of culture drops. Discarding keeps that ratio high, which produces a strong starter rather than a large, weak one.
Yes, and it will work. All-purpose has less protein, so expect a slightly slacker texture and often an extra day or two before it doubles reliably. The timings above are for bread flour.
Hooch. It forms when the starter has eaten through its food and is asking to be fed. Stir it back in for a tangier result or pour it off for a milder one, then feed straight away. It is not a sign of spoilage.
For a starter under seven days old, this is usually normal, and the answer is time plus warmth. Move it somewhere warmer, keep the feeds consistent, and give it a few more days. If it is past day ten and still flat, the fix is a feeding change rather than more waiting, which is covered in the feeding and maintaining guide.
The first few days often smell sharp, cheesy, or like nail polish remover. That is normal while the wild yeast establishes itself. As it matures, the smell settles into something tangy and yeasty. A smell that stays harsh past day seven usually means it needs feeding more often.
Fuzzy growth, black spots, or a pink or orange tinge means throw it out and start again. Wash the jar thoroughly and consider a different bag of flour. Hooch and a grey liquid layer are not mold. Sealing the jar airtight is one of the common mistakes beginners make with sourdough, and it makes this more likely, so keep the lid resting loosely.
The timeline section above covers all seven days, and the recipe card prints cleanly if you want it on the counter. What most people actually need is the feeding schedule for after day seven, which is where the routine changes.
Seven days is typical with bread flour in a warm kitchen. Ten to fourteen days is common in cooler homes. The calendar matters less than the behavior: when it doubles reliably in six to eight hours, it is ready, whatever day that lands on.
What to do next
Your starter is alive, which means it now needs a routine rather than a build. Feeding, fridge storage, and every way a starter goes wrong are covered in the sourdough feeding and maintaining guide. Once your starter is reliably doubling, put it to work in a lemon blueberry sourdough bread with fresh berries folded straight into the dough.
Once your starter is doubling reliably, put it to work in a soft sourdough sandwich bread that makes two loaves at once, one to slice for the week and one for the freezer. When you are ready to bake, the beginner sourdough loaf is the place to start, and after that there are plenty of sourdough bread variations to work through.
Made this sourdough starter? Leave a comment and tell me what day yours started doubling!
Equipment
- Wide-mouth glass jar 32 oz
Ingredients
- 300 g bread flour unbleached
- 300 g filtered water
Instructions
- Day 1. Weigh 100 grams of bread flour and 100 grams of filtered water into the jar. Stir until no dry flour remains. Rest the lid loosely; do not seal it, and leave the jar somewhere warm for 24 hours.
- Day 2. Remove and throw away 100 grams. Feed with 50 grams of flour and 50 grams of water. Stir thoroughly. Back to the warm spot for 24 hours.
- Day 3. You should see the first bubbles across the surface. Remove 100 grams, feed with 50 grams of flour and 50 grams of water, and put the rubber band on at the new level so you can track the rise from here.
- Day 4, morning. The starter should be rising a little now. Remove 100 grams, feed 50 grams of each. From today, you feed twice a day, roughly 10 to 12 hours apart. Note the time so the next feed is easy to plan.
- Day 4, evening. You may find a layer of dark liquid on top. That is hooch, and it means the culture is active and hungry rather than spoiled. Stir it back in or pour it off, then feed as usual.
- Days 5 and 6. Same rhythm, twice a day. The rise gets taller and faster with each feed, and the smell shifts from sharp and unpleasant to something closer to yogurt or beer.
- Day 7. A ready starter is bubbly throughout the whole jar and doubles within six to eight hours of feeding. If yours is close but not there, keep going. Ten days is normal in a cool kitchen.
Notes
- Keep the starter around 75°F. An oven with the light on, the top of the fridge, or near a heating vent all work.
- Use filtered or bottled water. If unavailable, boil tap water and cool it completely.
- The rubber band goes on from day 3. It is how you tell a rise from a guess.
- Ready means doubling in 6 to 8 hours, not a particular date on the calendar. A cool kitchen can add a week.
- Store discard in a separate jar in the fridge for pancakes and crackers.